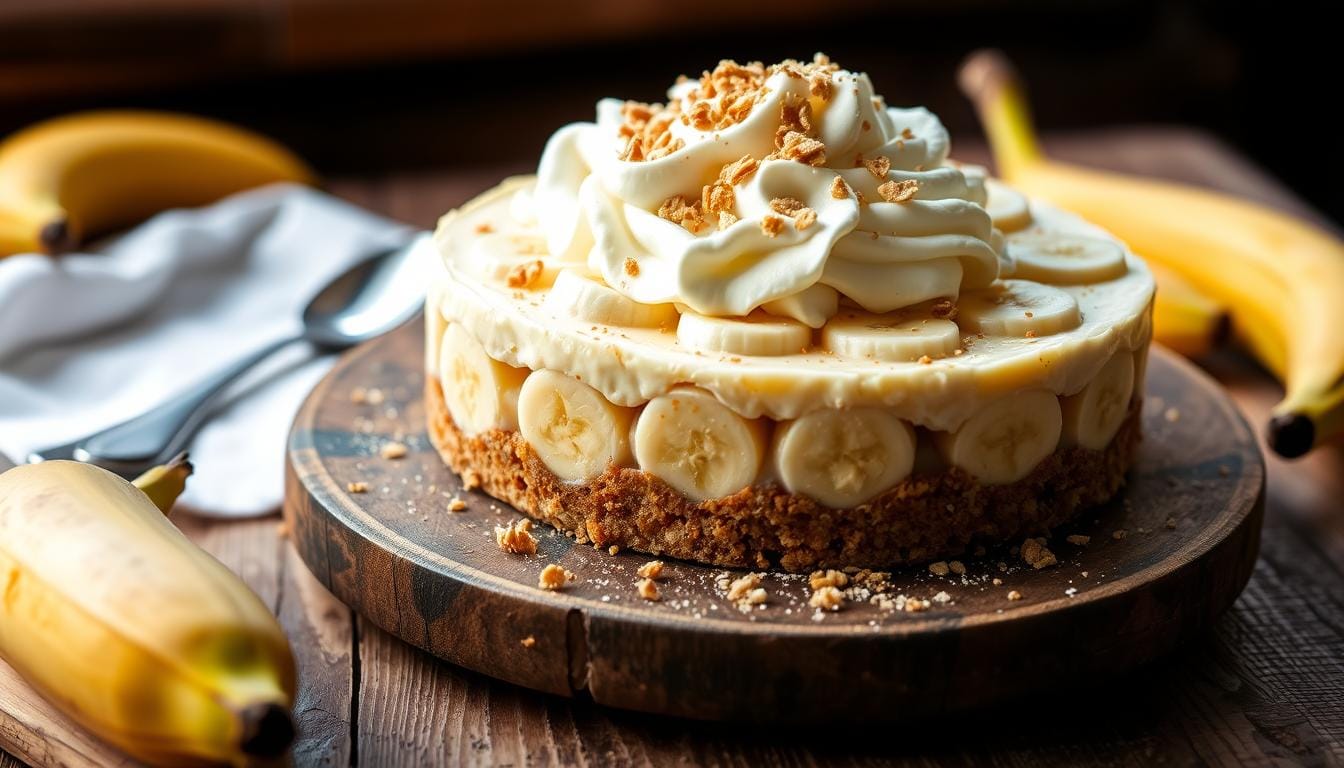
No Bake Banana Pudding Cheesecake: Quick & Easy
Imagine coming home after a long day, feeling stressed. Then, you smell something sweet that makes you feel better. That’s what happens when you make no bake banana pudding cheesecake. It’s a mix of banana pudding and cheesecake, all made without using the oven.
This dessert is perfect if you want something quick and delicious. You can make it in under 30 minutes. It’s not just easy to make, but it also impresses everyone who tries it.
Table of Contents
Introduction to No Bake Desserts
No bake desserts are becoming very popular, especially as an easy no bake dessert choice for home bakers. They need little time in the kitchen, which is great for hot summer days. A no oven needed cheesecake saves time and lets you get creative with simple ingredients.
These treats can be made ahead of time, which is great for busy schedules. They’re perfect for summer gatherings, like potlucks and barbecues. A no bake banana pudding cheesecake is a great example of a summer dessert recipe that will wow your guests.
What Makes No Bake Banana Pudding Cheesecake Special
The no bake banana pudding cheesecake is a mix of two favorite desserts. It combines the smooth cheesecake with the warm banana pudding flavors. Each bite is a perfect blend that dessert fans love.
A Unique Combination of Two Classic Desserts
This dessert combines banana pudding with cheesecake’s richness. The creamy filling and sweet bananas create a tasty mix. Nilla wafer cookies add a nice crunch and a touch of childhood memories.
This dessert is a hit at any gathering. It’s a special treat that brings joy and becomes a cherished memory.
The Creamy Texture of Cheesecake Meets Banana Pudding
The creamy banana cheesecake is made with top-notch ingredients. Cream cheese and whipped topping make it smooth and creamy. Fresh bananas add a delicious flavor.
This dessert is both rich and refreshing. It’s easy to make, needing just 15 minutes of prep and 8 hours to chill. It’s perfect for impressing your guests.
| Aspect | Details |
|---|---|
| Prep Time | 15 minutes |
| Chill Time | 8 hours |
| Total Time | 8 hours 15 minutes |
| Servings | Serves 10 people |
| Average Rating | 4.67 out of 6 votes |
| Storage | Up to 5 days in the refrigerator |
Ingredients You’ll Need
To make a no bake banana pudding cheesecake, you need a few key ingredients for each layer. This makes sure every bite is tasty and the recipe is easy to follow. Here are the ingredients you’ll need, divided into three parts: the vanilla wafer crust, the banana pudding cheesecake filling, and optional toppings.
For the Vanilla Wafer Crust
- 11 oz of vanilla wafers
- 1/2 cup of unsalted butter, melted
- 1/4 cup packed light brown sugar
For the Banana Pudding Cheesecake Filling
- 16 oz of cream cheese, softened to room temperature
- 1/2 cup of granulated sugar
- 1 box (3.4 oz) instant banana cream pudding mix
- 1 cup sour cream
- 1 teaspoon vanilla extract
- 2 cups whipped topping (Cool Whip or homemade)
- 1 large banana, sliced
Optional Toppings and Garnishes
- Additional vanilla wafers for decoration
- Extra sliced bananas on top
- Drizzle of caramel or chocolate sauce
How to Prepare the Vanilla Wafer Crust
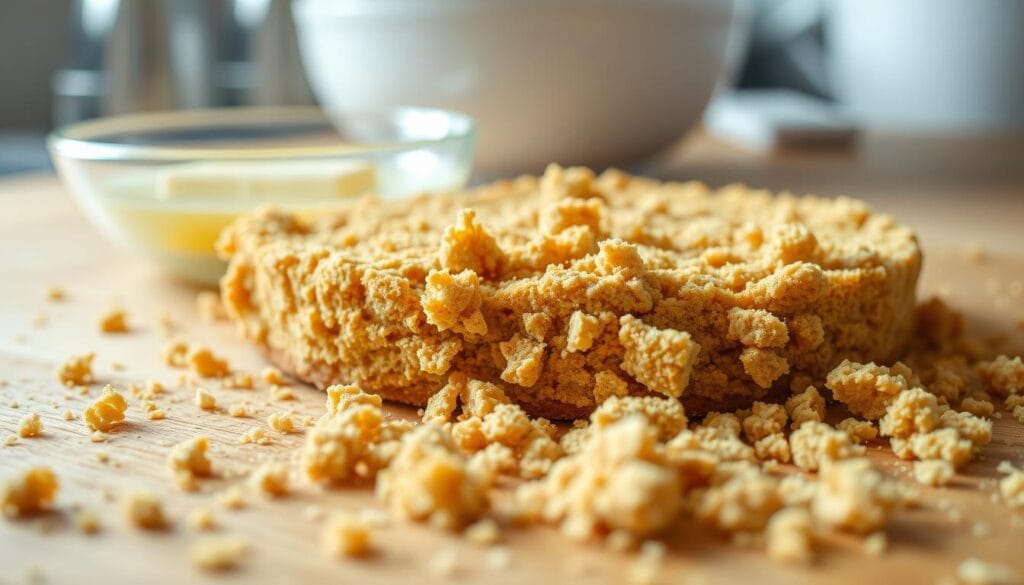
Creating a delicious base for your cheesecake is key to a successful easy no bake dessert. To prepare the vanilla wafer crust, you will need about 40 Nilla wafer cookies. Start by crushing these cookies into fine crumbs. You can use a food processor or place them in a resealable bag and crush them with a rolling pin.
Next, in a mixing bowl, combine the crushed cookies with 2 tablespoons of granulated sugar and 6 tablespoons of melted unsalted butter. Mix all the ingredients until they are thoroughly combined and resemble wet sand.
Once the mixture is ready, press it firmly into the bottom of a springform pan. Ensure even distribution across the pan for a uniform crust. Chilling the crust in the refrigerator while you prepare the cheesecake filling helps it set properly. This crust provides a rich flavor and complements the creamy filling. Your graham cracker crust will rival any traditional version, making this an enjoyable addition to your dessert repertoire.
After about 30 minutes of prep, your crust should be ready to support the layers of your Banana Pudding Cheesecake. Remember, a well-prepared base is essential for a flawless presentation and taste.
Creating the Banana Pudding Cheesecake Filling
Making a delicious banana pudding cheesecake filling takes the classic dessert to new heights. The creamy mix of flavors makes it a hit at any event. To get this filling just right, focus on cream cheese and fresh bananas.
Using Cream Cheese for Richness
Softened cream cheese is the base of your banana pudding cheesecake filling. It gives a smooth, velvety texture that’s key for a rich taste. Start by mixing the cream cheese with sugar until it’s creamy. This makes your cheesecake indulgent and satisfying.
Incorporating Fresh Bananas for Flavor
Adding fresh mashed bananas brings out their delightful taste. The sweetness and flavor of ripe bananas mix well with the cream cheese. This creates a perfect blend for the filling. Fold in the bananas and sweetened whipped cream for a light, airy texture. Your banana pudding cheesecake filling will be both flavorful and light.
Step-by-Step Instructions
Making this no bake banana pudding cheesecake is easy and fun. It’s perfect for any event. Follow this guide to make a cheesecake that’s sure to impress.
Preparing the Crust
First, crush the Nilla wafers into fine crumbs. You can use a food processor or a zip-top bag and a rolling pin. Then, mix the crumbs with melted butter in a bowl.
Press this mixture into the bottom of a 9″ x 13″ glass dish. This creates a tasty crust that holds everything together.
Mixing the Filling
In a big mixing bowl, mix the softened cream cheese with banana pudding mix. Add cold whole milk and mix with a hand mixer. Beat it on medium speed until it’s smooth and creamy, which takes about 3 to 5 minutes.
Then, gently fold in the thawed Cool Whip. This adds a light and airy texture to the filling.
Layering the Cheesecake
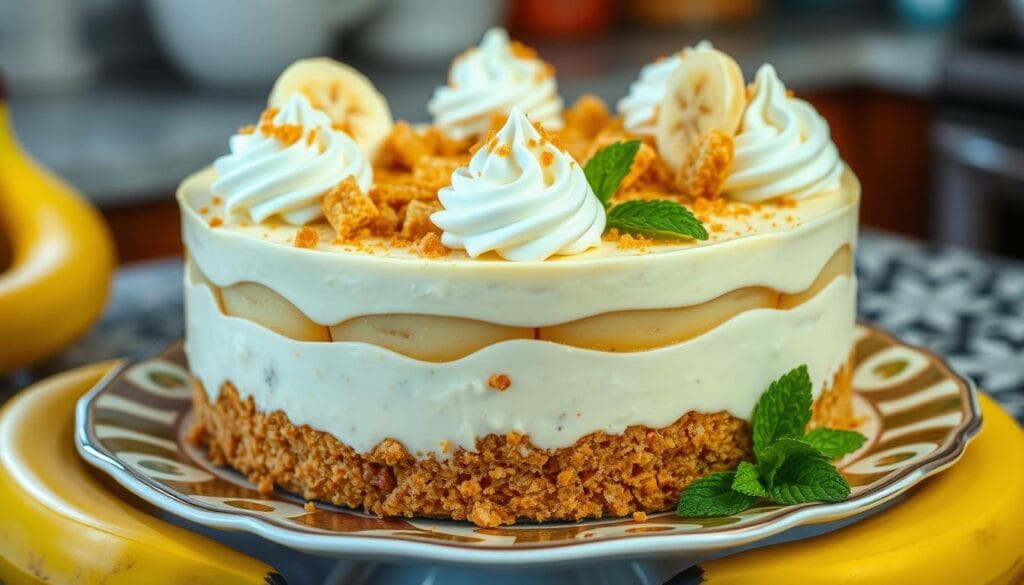
Start by spreading half of the banana pudding cheesecake filling over the crust. Then, layer sliced ripe bananas on top. Spread the remaining filling over the bananas, smoothing it out.
You can add more banana slices for decoration if you like. Cover the dish with plastic wrap and refrigerate for at least 4 hours. This lets the flavors meld and the texture set, making a delicious no bake banana pudding cheesecake.
| Preparation Steps | Details |
|---|---|
| Crust Preparation | Crush Nilla wafers and mix with melted butter, press into dish. |
| Filling Mixing | Mix cream cheese, banana pudding mix, milk, and Cool Whip until smooth. |
| Layering | Layer filling, bananas, and remaining filling, then refrigerate. |
| Chilling Time | Refrigerate for 4 hours to set before serving. |
| Servings | This recipe serves 16 people, with each serving about 242 kcal. |
Refrigeration and Setting Time
To enjoy the full taste of your no-bake banana pudding cheesecake, it needs to chill properly. It should sit in the fridge for at least four hours. Overnight chilling is even better. This makes the cheesecake smooth and brings out its rich flavors.
Waiting for this time makes your dessert not only delicious but also perfect for any event. You can make it ahead of time. This way, you can relax and enjoy your gathering without worrying about dessert.
Here are some tips for chilling your cheesecake:
- Chill for at least 4 hours; overnight is best for optimal flavor development.
- Ensure the cheesecake is covered to prevent any absorption of odors from the refrigerator.
- Let it sit at room temperature for a few minutes before serving to ease cutting and enhance texture.
Serving Suggestions for No Bake Banana Pudding Cheesecake
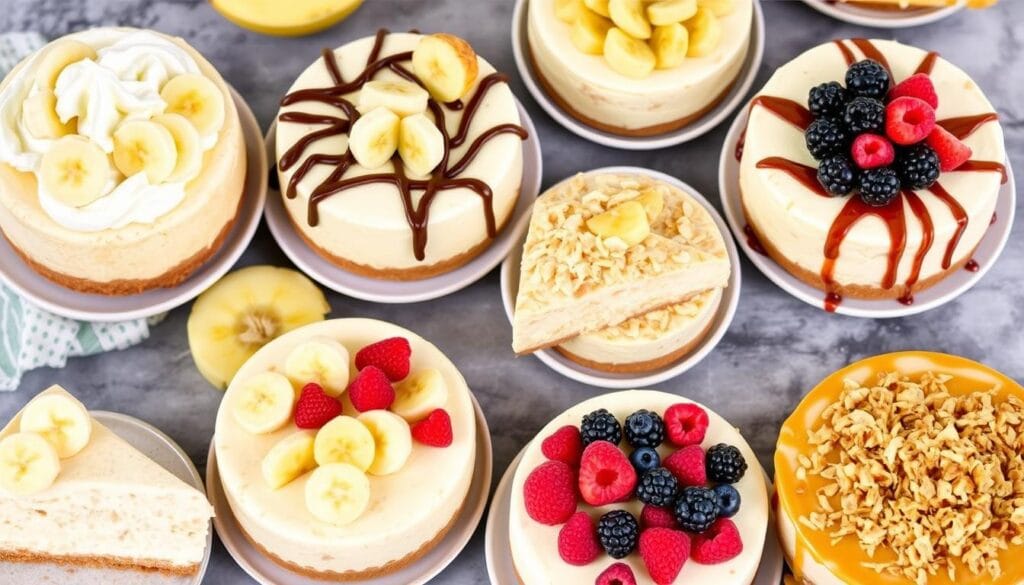
When serving No Bake Banana Pudding Cheesecake, how you present it matters a lot. You want to make a dessert that everyone will love. Top it with whipped cream for a light finish. Add banana slices for color and taste.
For more flair, sprinkle mini Nilla wafers around the edges. They add flavor and look great.
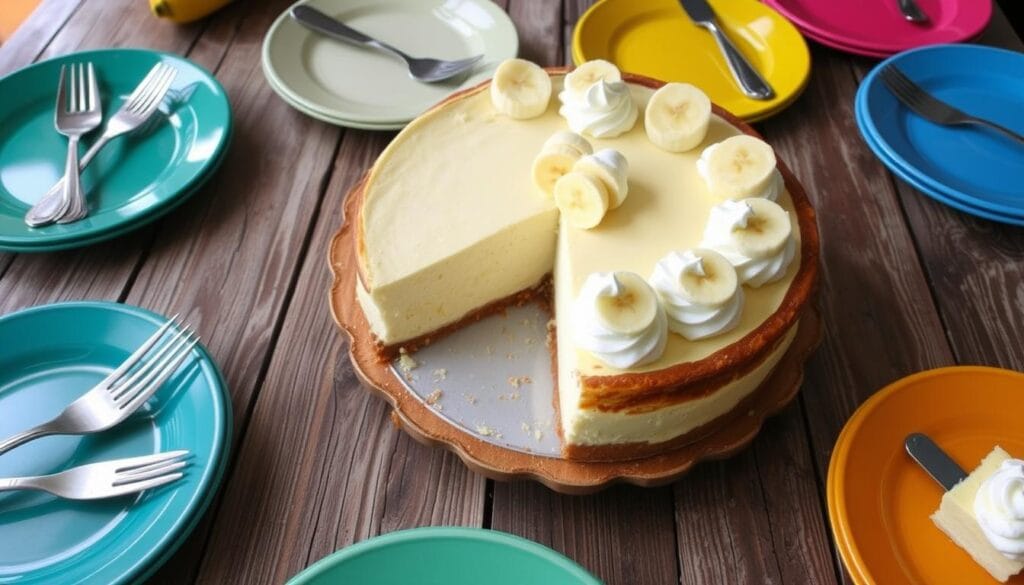
This cheesecake is best when it’s cold. It’s refreshing and perfect for hot summer days. Serve it with small plates and forks for easy sharing.
Labeling the dessert with a fun sign can make it stand out. Pair it with iced tea or lemonade for a complete experience. Your guests will love it.
If you’re feeling bold, offer toppings like banana cream pudding or fresh mint. This lets guests make their own special dessert. Your cheesecake will be the highlight of the potluck.
Storage Tips for Leftovers
To keep your no oven needed cheesecake fresh and tasty, proper storage is crucial. Store it tightly covered in the fridge for up to four days. Use an airtight container to keep the flavors and texture from getting affected by other fridge items.
If you have leftover cheesecake that you can’t eat in four days, freeze it. This dessert can stay frozen for up to a month. To thaw, put it in the fridge for a few hours before serving. This keeps it creamy. Don’t let it sit at room temperature for too long to avoid spoilage.
Here’s a table with the best ways to store your banana pudding cheesecake:
| Storage Method | Duration | Notes |
|---|---|---|
| Refrigerate | Up to 4 days | Keep tightly covered in airtight container. |
| Freeze | Up to 1 month | Thaw in the fridge before serving. |
By following these storage tips, you can enjoy your no oven needed cheesecake for longer. It’s a simple yet indulgent dessert that’s easy to make.
Variations to Try
Trying different variations of the no bake banana pudding cheesecake can bring new flavors and textures. You can change things up based on what you like or what you have on hand. Let’s explore a few ways to make your quick banana pudding recipe even better.
Using Different Types of Crusts
The classic Nilla wafer crust is great, but you can also try other options. Here are a few:
- Graham cracker crust for a buttery taste that goes well with cheesecake.
- Golden Oreo crust for a richer, more decadent flavor.
- Chocolate wafer crust for a fun contrast with the banana pudding.
Each crust brings its own special touch to your no bake banana pudding cheesecake. It adds a fun twist to the classic recipe.
Experimenting with Flavor Additions
Adding different flavors can make your quick banana pudding recipe even more exciting. Here are some ideas:
- Mix in chocolate chips for a sweet treat.
- Try other instant pudding mixes, like vanilla or chocolate, for different tastes.
- Top it with caramel sauce or fresh berries for a burst of freshness.
This flexibility lets you make your no bake banana pudding cheesecake your own. It ensures it will always be a hit with everyone.
Benefits of Making a Make-Ahead Dessert
Preparing a make ahead dessert can make your baking experience much easier. The no bake banana pudding cheesecake is a great choice for busy times. It gets better with time, making it a delicious treat.
Choosing a no bake banana pudding cheesecake means no stress on the day of your event. It doesn’t need to be baked, so you can do other things while it cools. It’s great for summer or any time you want a cool dessert.
Here are some key benefits of making a make ahead dessert:
- Flavor Development: Ingredients blend together over time, making the taste better.
- Convenience: You can make it days before, saving time when you’re hosting.
- Stress Reduction: Making it ahead lets you relax and enjoy your event more.
- Versatility: You can change it up with different toppings and ingredients.
The no bake banana pudding cheesecake is perfect for those who value practicality. It’s made with fresh bananas, creamy layers, and fun textures. It’s easy to serve and stays chilled, ready to impress your guests.
Why This Recipe is Perfect for Potlucks
Looking for a dessert that’s sure to please at a potluck? No Bake Banana Pudding Cheesecake is your answer. It combines the creamy cheesecake with the warm banana pudding taste. This makes it a hit with everyone, thanks to its stunning look and delicious flavor.
Making this dessert is easy and quick. You only need 30 minutes of prep and a few hours to chill. It serves 12 people and can be prepared ahead of time. This means you can relax and enjoy the event without worrying about last-minute cooking.
For an extra touch, add whipped cream, chocolate shavings, or banana slices before serving. This keeps your cheesecake looking and tasting great. This recipe is more than just a dessert; it’s a conversation starter that will have everyone asking for more.
