Best Cheesecake Recipe Philadelphia Cheese
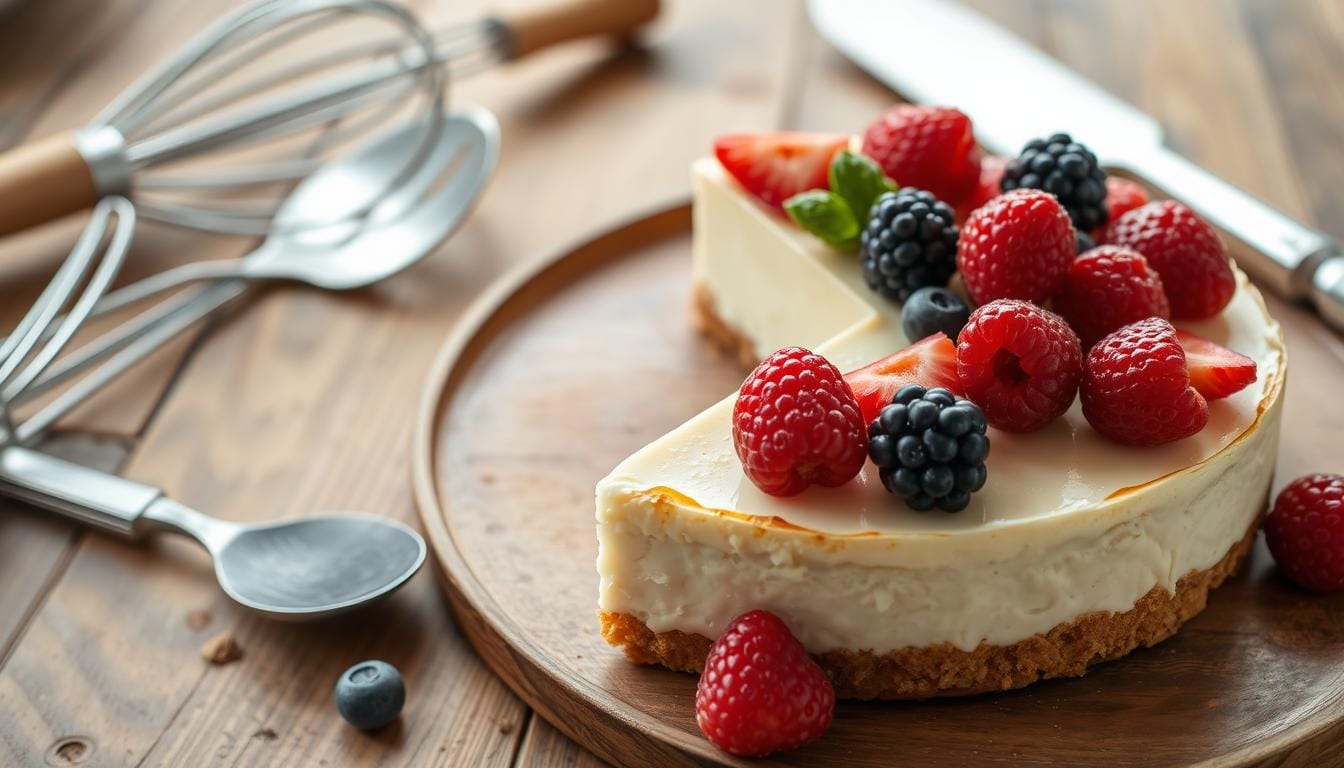
I love desserts, and I’ve tried many cheesecakes. But the classic cheesecake recipe Philadelphia is my favorite. It has a creamy filling and a buttery graham cracker crust. This combo is perfect for satisfying my sweet tooth.
If you want the best cheesecake, try this recipe with Philadelphia cream cheese. It’s a dream come true for dessert lovers.
Making the perfect cheesecake might seem hard. But with some tips, you can make amazing treats at home. In this guide, I’ll show you how to make a classic Philadelphia cheesecake.
Learn about the right crust-to-filling ratio and how to avoid cracks. You’ll become a cheesecake expert in your kitchen.
Table of Contents
Introduction to Classic Philadelphia Cheesecake
Making the perfect Philadelphia Cream Cheese cheesecake is an art. It’s loved for its rich, creamy cheesecake texture and amazing flavor. The key is using top-notch Philadelphia Cream Cheese, which makes the filling incredibly creamy and smooth.
Why Philadelphia Cream Cheese Makes the Best Cheesecake
Philadelphia Cream Cheese is the magic that makes this cheesecake stand out. Its full-fat, velvety texture makes the filling incredibly luscious and creamy. This balance of richness and lightness gives every bite a flawless texture.
Essential Equipment and Tools
To make the perfect Philadelphia Cream Cheese cheesecake, you’ll need a few key tools:
- A 9-inch springform pan for a classic cheesecake shape
- An electric mixer for a smooth, creamy filling
- A large mixing bowl for whipping the batter
- Measuring cups and spoons for precise ingredient measurements
With these tools and some cheesecake baking tips, you’ll create a stunning Philadelphia Cream Cheese cheesecake. It will wow your family and friends.
Required Ingredients for Perfect Cheesecake
Making the perfect cheesecake needs the right ingredients. At its core is Philadelphia cream cheese, which gives the cheesecake its creamy texture. You’ll also need granulated sugar for sweetness and eggs at room temperature for easy mixing.
To make the graham cracker crust, mix graham cracker crumbs with melted butter and a bit of salt. This crust is the base for the creamy filling. Adding vanilla extract or lemon zest can enhance the flavor.
For a unique touch, try adding mini chocolate chips or fruit preserves. If you want a gluten-free option, use gluten-free cookies or wafers instead of graham crackers.
| Ingredient | Quantity |
|---|---|
| Philadelphia Cream Cheese | 32 oz (four 8-ounce blocks) |
| Granulated Sugar | 1 cup |
| Eggs, at room temperature | 4 |
| Graham Cracker Crumbs | 1.5 cups (from 12 whole crackers) |
| Unsalted Butter, melted | 6 tablespoons |
| Vanilla Extract (optional) | 1 teaspoon |
| Lemon Zest (optional) | 1 tablespoon |
| Mini Chocolate Chips (optional) | 1/2 cup |
With these key graham cracker crust, Philadelphia cream cheese, and cheesecake ingredients, you’re ready to make an amazing cheesecake. It will surely impress your taste buds.
Preparing the Graham Cracker Crust
Creating a great cheesecake begins with the crust. The graham cracker crust adds a nice texture and keeps the filling in place. Let’s learn how to make the ideal graham cracker crust for your cheesecake.
Proper Crust Techniques
Start by grinding 18 graham cracker sheets into fine crumbs in a food processor. Then, mix 1 1/4 cups of these crumbs with 1/4 cup of melted butter and 3 tablespoons of sugar. Stir until it’s like damp sand.
Tips for Even Crust Distribution
- Press the mixture firmly and evenly into a 9-inch springform pan. Use a flat-bottomed glass or measuring cup for an even layer.
- Bake the crust at 325°F (165°C) for 10 minutes before adding the cheesecake. This step sets the crust and prevents it from getting soggy.
- Let the baked crust cool completely before adding the filling. This step ensures the crust stays firm and supports your cheesecake.
By following these steps, you’ll have a graham cracker crust that perfectly complements your cheesecake.
Cheesecake Recipe Philadelphia: Step-by-Step Instructions
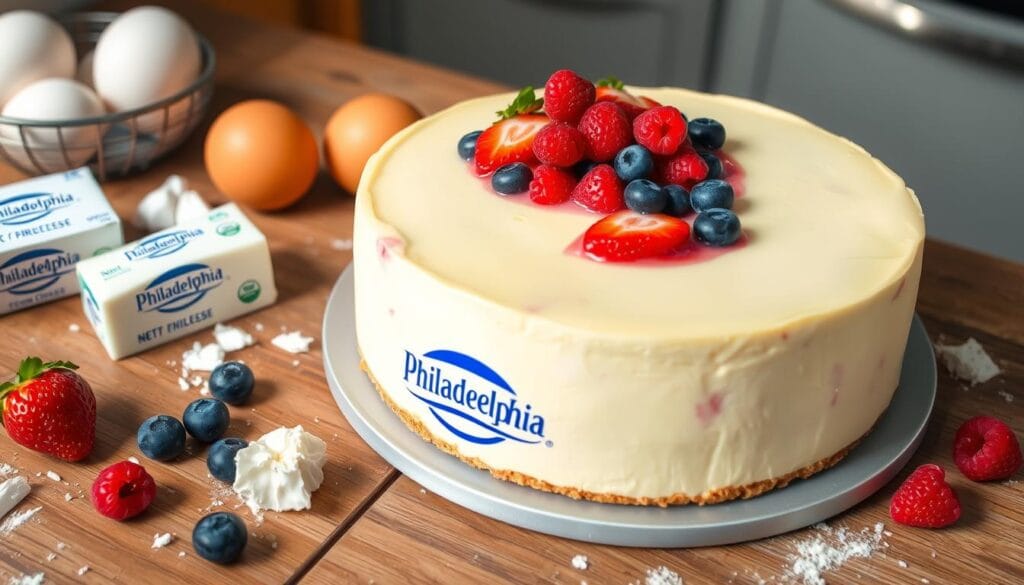
Making the perfect cheesecake recipe philadelphia is a fun process that results in a creamy dessert. You’ll need a 9-inch springform pan or an 8-inch pan with higher sides. The recipe requires 32 ounces of Philadelphia cream cheese, which is usually sold in 4 blocks of 8 ounces each in the U.S.
Begin by heating your oven to 355°F (180°C). In a big bowl, mix the softened cream cheese with 3/4 cup of granulated sugar at medium speed. Then, add 3 eggs one at a time, mixing on low speed until smooth.
Next, spread the cream cheese mixture over a graham cracker crust. The crust is made with about 1 1/2 cups of crushed graham crackers. Bake the cheesecake at 300°F (150°C) for 70 to 85 minutes, until it’s almost set. Use a food thermometer to check the internal temperature, aiming for 145°F (63°C).
After baking, let the easy cheesecake recipe cool on a wire rack. Cooling is key for the right texture. Once cooled, refrigerate it for at least 4 hours, or better yet, overnight. This ensures the cheesecake is perfect when you serve it.
| Ingredient | Quantity |
|---|---|
| Philadelphia Cream Cheese | 32 ounces (4 blocks) |
| Granulated Sugar | 3/4 cup |
| Eggs | 3 |
| Graham Crackers | 1 1/2 cups, crushed |
By following these steps and using top-notch ingredients, you’ll make a cheesecake recipe philadelphia that will wow everyone. Enjoy making and sharing it!
Mastering the Cream Cheese Filling
Getting the perfect cheesecake filling is key to a rich, creamy dessert. The trick is using the right technique and controlling the temperature when working with Philadelphia cream cheese.
Achieving the Perfect Consistency
For a smooth filling, start with room-temperature ingredients. Let the cream cheese, eggs, and dairy sit at room temperature for at least an hour. This ensures they blend well, avoiding lumps or graininess.
When mixing, work gently and avoid over-mixing. Mix on low speed until just combined. Overmixing can introduce air, causing cracks or a dense texture in the cheesecake.
Temperature Control Tips
- Soften the cream cheese by cutting it into small cubes and microwaving it on 50% power in 15-second intervals, stirring in between, until it’s smooth and creamy.
- Maintain a consistent oven temperature throughout the baking process for even heat distribution and a crack-free top.
- Gradually cool the cheesecake in the turned-off oven to prevent sudden temperature changes that can cause cracks.
By following these tips and techniques, you’ll be well on your way to creating a creamy cheesecake filling with the perfect consistency every time.
Baking Temperature and Timing Guidelines
To get the perfect baked cheesecake, you need to control the temperature and timing well. The secret to a cheesecake that’s well-baked and doesn’t crack is to follow the right baking guidelines.
Bake your cheesecake at 325°F (165°C) for 45-55 minutes. This temperature makes the center almost set but still a bit jiggly. If you’re using a dark non-stick pan, lower the temperature to 300°F (150°C) to avoid overbrowning the crust.
To see if it’s done, use an instant-read thermometer. The USDA says it should be at 160°F (71°C). But remember, the temperature will go up a bit after you take it out of the oven.
Adjust the baking time based on your oven. Some ovens might need a bit more time, while others might need less. Watch the cheesecake closely in the last 10 minutes to get the perfect texture.
“The secret to a flawless cheesecake lies in the baking temperature and timing. Follow the guidelines closely, and you’ll be rewarded with a rich, creamy, and crack-free dessert.”
By following these cheesecake baking tips, you’ll make a baked cheesecake that will wow your guests.
Water Bath Technique for Crack-Free Results
Getting a crack-free, creamy cheesecake is a big deal in baking. The trick is using a water bath method. This method gives your cheesecake even heat and moisture. It makes sure your cheesecake bakes perfectly without any cracks.
Benefits of Using a Water Bath
The water bath method is a big improvement for baking cheesecakes. It surrounds the springform pan with hot water. This creates a moist, humid space that stops the cheesecake from drying out and cracking.
The gentle heat also helps the cheesecake bake evenly. This results in a smooth, creamy texture.
Proper Water Bath Setup
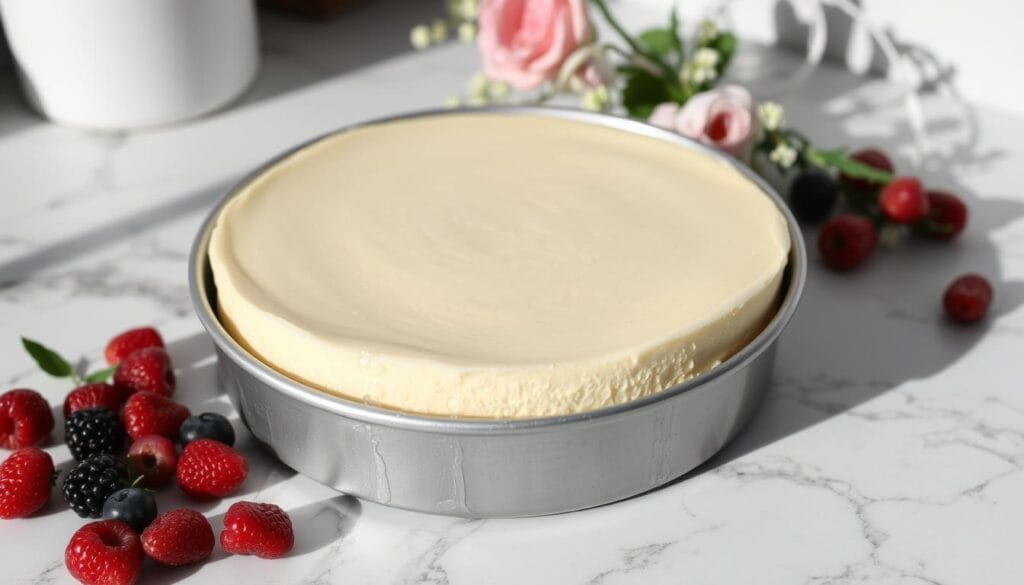
- Wrap the outside of your springform pan in a double layer of heavy-duty aluminum foil. This stops water from getting in.
- Put the foil-wrapped springform pan inside a bigger roasting pan.
- Pour hot water into the roasting pan, making sure it reaches halfway up the sides of the springform pan.
- Use oven mitts to handle the water bath to avoid spills.
- Don’t use glass baking dishes for the water bath because they can break.
- Move the water bath setup to the oven carefully, watching out for the hot water.
By following these steps, you’ll make the perfect humid space for your cheesecake baking tips. You’ll get a crack-free cheesecake every time.
Cooling and Setting Process
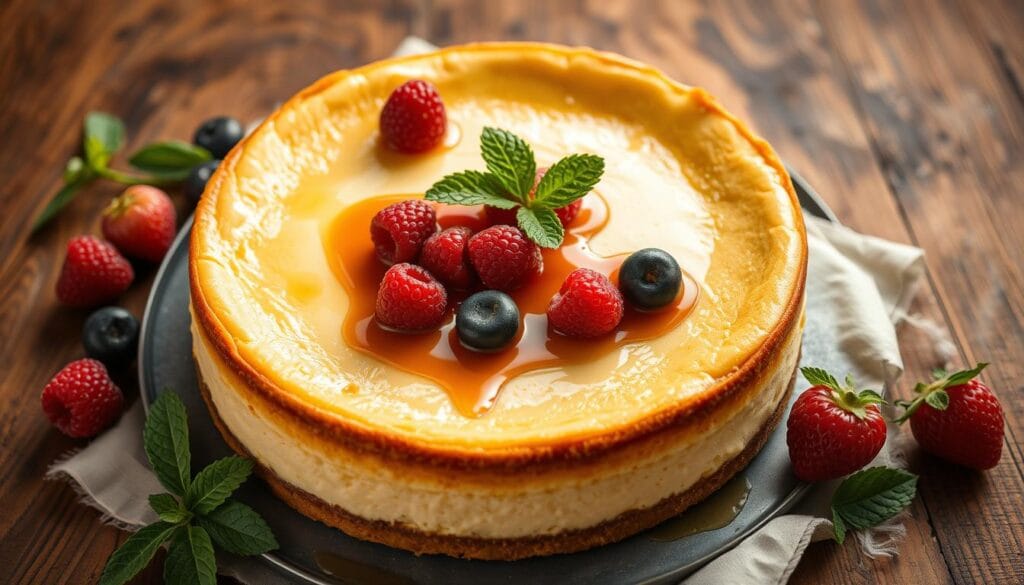
Making the perfect Philadelphia cheesecake needs careful cooling and setting. After baking, cool the cheesecake slowly to avoid cracks. This is because sudden temperature changes can cause cracks.
First, turn off the oven and leave the cheesecake inside with the door ajar. Let it cool in the oven for 1 to 3 hours. This helps the cake set and the flavors to develop.
After cooling a bit, use a knife to gently loosen the cheesecake from the pan. Then, move it to a wire rack and cool it completely at room temperature. This can take another 1 to 3 hours.
Finally, put the cheesecake in the fridge for at least 4 hours, or better yet, overnight. This long chill time lets the cheesecake setting solidify fully. It also blends the flavors together beautifully.
| Cooling and Setting Timeline | Duration |
|---|---|
| Oven Cooling with Door Ajar | 1-3 hours |
| Room Temperature Cooling | 1-3 hours |
| Refrigeration Chilling | Minimum 4 hours, Ideal Overnight |
By cooling your Philadelphia cheesecake slowly, you’ll get a smooth, crack-free surface. It will also have a rich, creamy texture. Remember, patience is key to the best results.
Essential Tips for Preventing Cracks
Making a crack-free cheesecake can be tricky, but with the right methods, you can get it right every time. A key factor is using a water bath while baking.
Avoiding Common Mistakes
Don’t overmix the batter, especially after adding eggs. This can introduce too much air and cause cracks. Mix the ingredients gently and just until they’re combined. Also, using room temperature ingredients ensures a smooth texture that’s less likely to crack.
- Avoid overmixing the batter
- Use room temperature ingredients
- Employ the water bath technique
- Don’t overbake; stop when the internal temperature reaches 145°F
- Cool the cheesecake gradually to prevent sudden temperature changes
- Keep the oven door closed during baking to maintain even heat
- Ensure even mixing of ingredients to prevent lumps
The water bath method is a game-changer for avoiding cracks. The steam from the hot water helps the cheesecake rise slowly and evenly. This reduces the chance of cracks. Wrapping the springform pan with aluminum foil on the bottom and sides is also recommended to prevent water leakage.
It’s crucial to follow the baking and cooling instructions carefully. Overbaking can make the cheesecake dry and crack. Stop baking when the internal temperature hits 145°F. Cooling the cheesecake slowly, avoiding sudden temperature changes, and keeping the oven door closed are all key for a crack-free dessert.
By using these cheesecake baking tips and techniques, you’ll be on your way to making a crack-free cheesecake that will wow your family and friends.
Proper Storage and Make-Ahead Instructions
Making the perfect Philadelphia cheesecake is more than just following a recipe. It’s also about knowing how to store and prepare it ahead of time. By following a few simple steps, you can enjoy your homemade cheesecake for days.
Refrigerating for Short-Term Storage: Once your cheesecake is completely cool and set, you can refrigerate it for up to 4 days. Make sure to cover it tightly with plastic wrap or store it in an airtight container. This helps keep it moist.
Freezing for Long-Term Storage: For longer freshness, freeze your cheesecake for up to 2 months. Wrap it tightly in plastic wrap, then in aluminum foil, to protect it from freezer burn. Let it thaw in the fridge overnight before serving.
Before you serve, let the cheesecake sit at room temperature for 20 minutes. This lets the flavors shine. Store toppings like fresh fruit or sauces separately and add them just before serving for a stunning look.
“The key to preserving the rich, creamy texture of your homemade cheesecake is proper storage. By following these guidelines, you can enjoy the fruits of your labor for days, or even weeks, to come.”
With these tips, you can enjoy your Philadelphia cheesecake anytime. Whether it’s for a family event or a personal treat, your hard work will pay off. Your cheesecake will delight your taste buds every time.
Delicious Topping Options
Make your creamy cheesecake even better with tasty toppings. Try fresh fruits and rich sauces to match the cheesecake’s flavors.
Fresh Fruit and Sauce Combinations
Use the sweetness of fresh berries and fruits. Add strawberries, blueberries, or kiwi slices on top. For a special touch, drizzle caramel sauce, chocolate syrup, or fruit compote over it.
For a classic look, add whipped cream or crumbled cookies or chopped nuts. They bring a nice crunch.
| Topping | Flavor Profile |
|---|---|
| Fresh Strawberries | Sweet and juicy |
| Blueberry Compote | Tangy and fruity |
| Caramel Sauce | Rich and decadent |
| Whipped Cream | Light and airy |
| Chopped Pecans | Crunchy and nutty |
Try macerating strawberries in sugar for a tasty sauce. Or mix raspberries, blackberries, and blueberries for a colorful topping.
Serving Suggestions and Presentation Tips
When serving your Philadelphia cheesecake, presentation matters. Make sure it’s chilled for at least 4 hours, or better yet, overnight. This ensures the best texture and flavor.
For clean slices, use a sharp knife that’s been dipped in hot water and dried. This prevents the cheesecake from sticking. Serving in small jars or glasses adds a fun touch to your presentation.
To make your cheesecake presentation pop, add fresh mint leaves or chocolate shavings. These simple touches can turn a basic cheesecake into a masterpiece, impressing your guests.
When serving cheesecake, pair the rich filling with toppings that complement it. Choose from classic cherry pie filling, fresh berries, or a chocolate drizzle. The options are endless for any occasion.
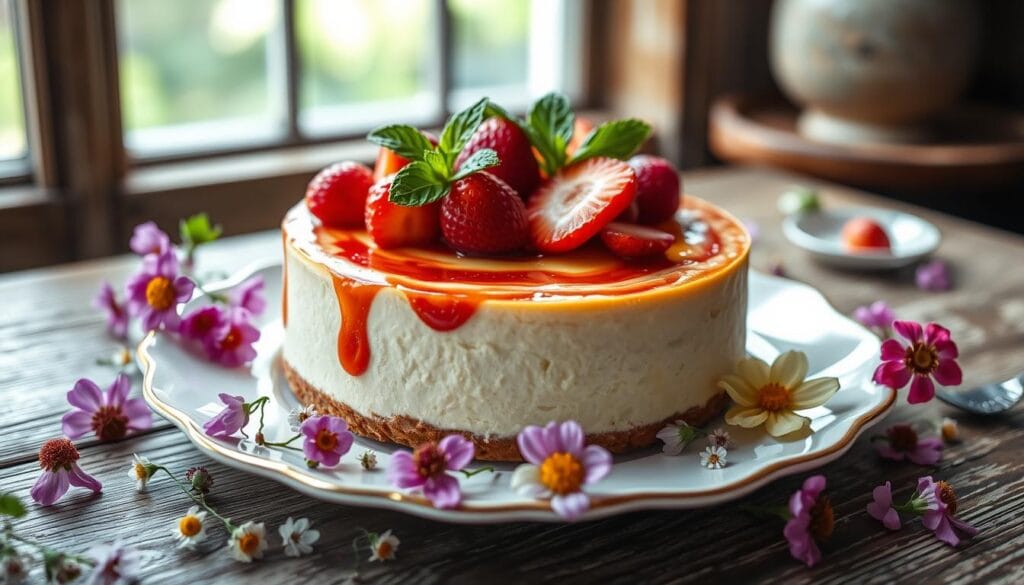
The beauty of a Philadelphia cheesecake is in its simplicity. By following these tips, you can impress your guests with a dessert that’s both delicious and visually stunning.
Troubleshooting Common Issues
Baking the perfect cheesecake can be tricky, but we’ve got you covered. Here are some tips to help you avoid and fix common problems:
Cracks in the Surface
Cracks in your cheesecake can happen for a few reasons. Overmixing, sudden temperature changes, or overbaking are common culprits. To avoid cracks, mix the batter gently and bake in a water bath for even cooking.
Lumpy Filling
If your cheesecake filling is lumpy, it’s probably because the ingredients weren’t at room temperature. Make sure your cream cheese and other dairy are soft and at room temperature before mixing. This will help you get a smooth, creamy texture.
Soggy Crust
A soggy graham cracker crust is a common problem. To avoid it, pre-bake the crust for 8-10 minutes at 375°F (190°C) before adding the filling. Also, make sure your springform pan is sealed well to prevent leaks.
Overcooked Edges
If your cheesecake edges are overbaked while the center is still raw, try a water bath and lower the oven temperature. This will help the cake cook evenly.
Undercooked Center
To fix an undercooked center, bake the cheesecake for longer. Use a thermometer to check for an internal temperature of 150°F (65°C).
Remember, fixing cheesecake problems takes practice, but with these tips, you’ll soon make perfect, crack-free cheesecakes every time.
Variations and Flavor Adaptations
The classic Philadelphia-style cheesecake is a blank canvas for endless flavors. You can try zesty lemon, rich chocolate, or even savory options. The possibilities are endless for customizing your cheesecake.
Popular Flavor Combinations
Try adding fragrant lemon zest or cocoa powder for a chocolate twist. Aromatic pumpkin puree is great for a seasonal treat. Swirl in fruit preserves like raspberry or cherry for freshness. Or, marble the batter with melted chocolate for a rich treat.
Seasonal Variations
- Pumpkin Spice Cheesecake: Perfect for fall, this version has a spiced pumpkin filling and a graham cracker crust.
- Peppermint Mocha Cheesecake: Celebrate winter with a minty, chocolatey delight topped with crushed candy canes.
- Strawberry Cheesecake: Enjoy the warmer months with a vibrant, berry-infused cheesecake topped with fresh strawberries.
Try different crusts like chocolate cookie crumbs or a nutty pecan base. For an adult twist, add your favorite liqueur to the batter or topping.
Savory cheesecake variations with herbs and artisanal cheese blends are a delightful change from sweet cheesecakes.
“Cheesecake is a blank canvas, waiting to be painted with your culinary creativity.”
Conclusion
The best cheesecake recipe with Philadelphia cream cheese is a treat for the senses. It has a rich, creamy texture and flavors that people love. This guide will help you make a cheesecake as good as a restaurant’s, right in your home.
Philadelphia cream cheese makes this cheesecake special. It gives the filling a smooth and indulgent feel. You can choose from a classic graham cracker crust or try new flavors to make it your own.
Don’t forget the little details. Make sure the crust is ready, control the temperature, and use a water bath for a perfect cheesecake. With practice and the right steps, you’ll wow your loved ones with your cheesecake. Top it with your favorite treats and enjoy every bite.
