Homemade Sub Rolls: The Best for Sandwich Lovers
Imagine walking into your kitchen, the warm scent of freshly baked bread filling the air. Homemade sub rolls satisfy your craving for the perfect sandwich. They also bring back memories of family gatherings.
As you make these soft and sturdy submarine sandwich rolls, think about the flavors they can hold. From roasted meats to crisp vegetables, each roll is a canvas for deliciousness. With just a few ingredients, you can make every meal special.
Table of Contents
Introduction to Homemade Sub Rolls
Making your own baked goods is a fun experience that connects you to cooking. Homemade sub rolls bring flavor and the joy of making them from scratch. You control the ingredients, making each roll as fresh as possible.
The joy of crafting your own baked goods
Making homemade sub rolls is rewarding. You’re involved in every step, from mixing to baking. The dough rising and shaping into rolls is a joy to watch.
Each bite is a taste of your hard work. It makes every meal special.
Why choose homemade over store-bought?
Choosing homemade sub rolls means no preservatives or artificial additives. Store-bought rolls can’t match the freshness and taste of homemade. Plus, you can add your own toppings or flavors.
This makes every sub roll unique and tailored to your taste. It’s a way to make your meals even more special.
Essential Ingredients for Perfect Sub Rolls
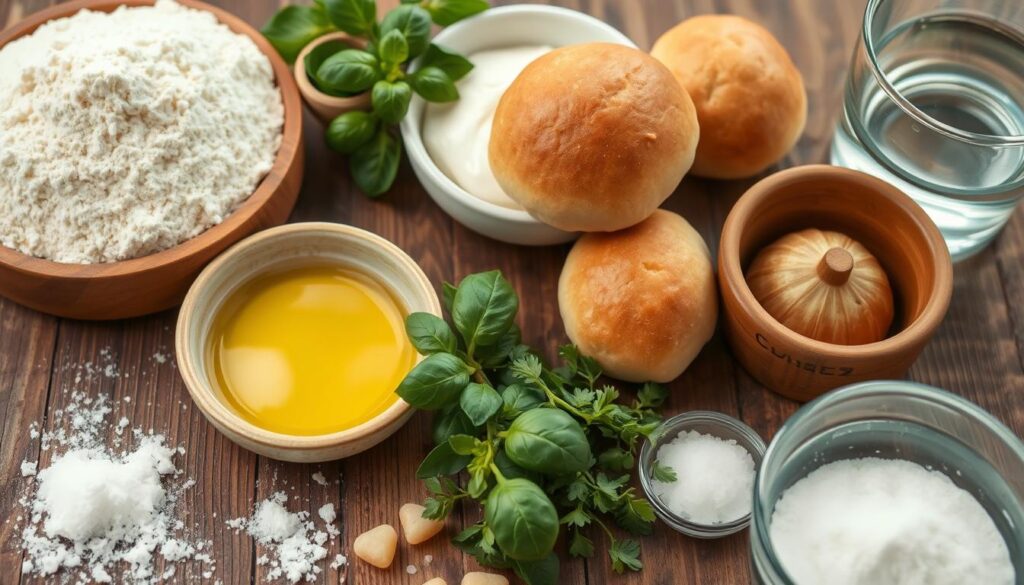
Making perfect sub rolls starts with choosing top-notch ingredients. Each part adds its own special touch to the taste, texture, and shape. Knowing about bread flour, sea salt, and yeast is key to getting it right.
Understanding the role of bread flour
Bread flour is vital for making great sub rolls. It has more gluten, which helps the dough rise well. You’ll need about 4 to 4 ½ cups of it for rolls that are chewy but soft.
Choose bread flour with 11% to 14% protein. This is what makes the rolls chewy.
Why sea salt is important for flavor
Sea salt boosts the flavor of your sub rolls and makes the dough stronger. Use 1 to 2 teaspoons to balance the dough’s sweetness. It also makes your kitchen smell amazing while the rolls bake.
The function of yeast in rising the dough
Yeast is key for making the dough rise and giving it a light feel. You can pick active dry yeast or instant yeast. A recipe usually calls for 1 ½ tablespoons of yeast.
This makes the rolls light and fluffy. Yeast works best in warm places. So, preheat your oven to 425 degrees for the best proofing.

| Ingredient | Purpose | Amount Needed |
|---|---|---|
| Bread Flour | Provides structure and chewiness | 4 – 4 ½ cups |
| Sea Salt | Enhances flavor and strengthens dough | 1 – 2 teaspoons |
| Yeast | Leavens dough for a light texture | 1 ½ tablespoons |
Step-by-Step Guide to Making Homemade Sub Rolls
Making homemade sub rolls is a fun and rewarding task. This guide will help you through each step. You’ll learn how to prepare your workspace and the baking techniques for perfect, fluffy rolls.
Preparing your workspace and ingredients
First, organize your kitchen. Get all the ingredients and tools you need. Here’s what you’ll need:
- 2 tablespoons dry yeast
- 1/2 cup warm water
- 3 tablespoons sugar
- 1 tablespoon kosher salt
- 5 tablespoons vegetable, canola, or olive oil
- 6 cups all-purpose flour
- Baking stone or steel
- Proofing containers and a tea towel
- Obtain a jeweler’s scale for precise measurements if desired
Make sure your kitchen is clean and your tools are ready. This will help you work efficiently.
Mixing and kneading the dough
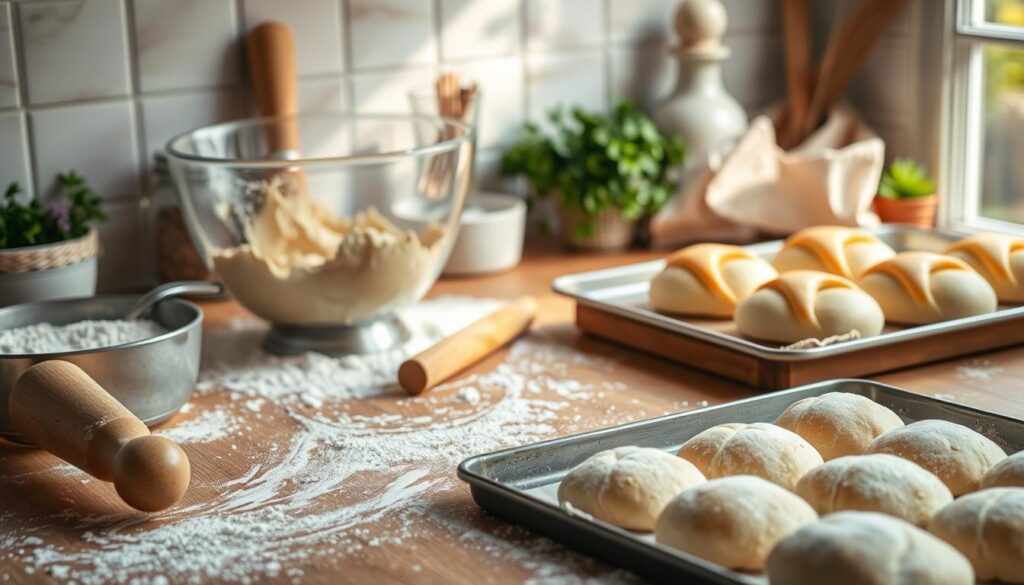
Start by activating the yeast. Mix warm water and yeast and let it sit for 5 minutes. Then, add sugar, salt, and oil, followed by flour. Knead the dough for 10 minutes if using a stand mixer. This step is key for developing gluten, which makes your rolls chewy and light.
Shaping and proofing the sub rolls
When the dough is smooth, divide it into equal parts. Shape each part into a ball and place them on a floured surface. Cover them with a tea towel for 30 minutes. This step makes the dough rise, resulting in lighter rolls.
Baking your rolls to perfection
Heat your oven to 375 degrees Fahrenheit. Put the proofed rolls on a baking stone or sheet. Bake for 15-19 minutes until they’re golden brown. Use a spray bottle with water to create steam for a crusty exterior. Let the rolls cool before serving and enjoy your homemade sub rolls!

| Task | Time Required |
|---|---|
| Prep Time | 1 hour |
| Rise Time | 30 minutes |
| Cook Time | 20 minutes |
| Total Time | 1 hour 50 minutes |
| Servings | 8 or 16 rolls |
Tips for Making the Best Sub Rolls
Making the best sub rolls requires focus and a few key tips. These tips will help you avoid mistakes, get a perfect crust, and add tasty toppings. This will make your rolls even more delicious.
Common mistakes to avoid
To make sure your sub rolls turn out great, avoid these common mistakes:
- Don’t over-knead the dough. It can make the rolls dense. Be gentle when kneading.
- Don’t let the dough rise for too long. It can affect the flavor and texture.
- Measuring ingredients accurately is important. It helps the dough structure.
How to achieve the perfect crust
To get a beautiful crust, bake at the right temperature. Set your oven to 425°F. Bake the sub rolls for 15 to 20 minutes.
The rolls should be nicely browned and sound hollow when tapped. Let them cool for 10 to 15 minutes before slicing. This helps the crust stay perfect.
Experimenting with toppings like sesame seeds
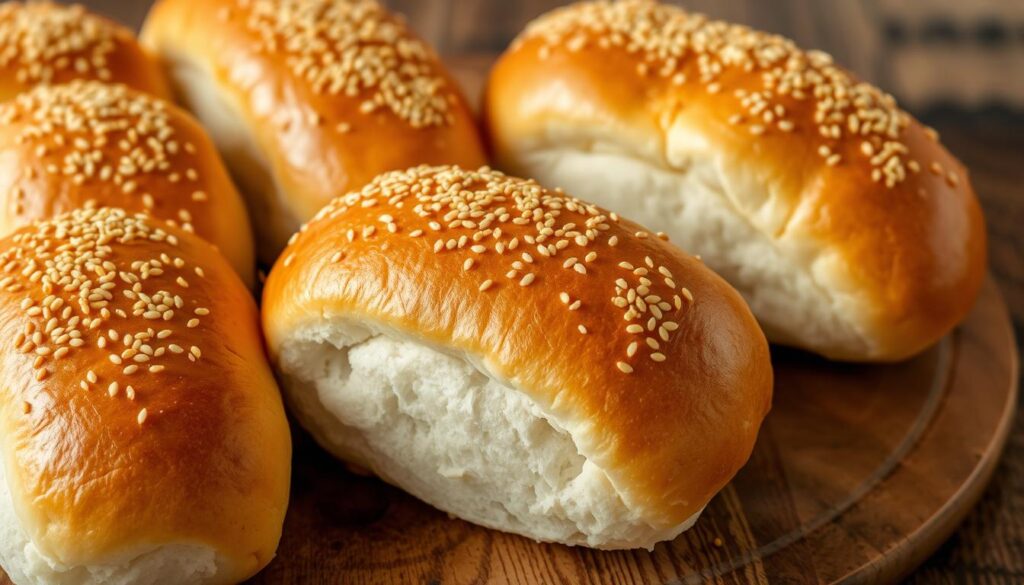
Try different toppings to make your rolls even better. Sesame seeds add a nice crunch and nutty taste. They make your homemade sub rolls more appealing.
You can also try poppy seeds or herbs. They bring unique textures and flavors to your rolls.

Sub Rolls Versus Other Types of Sandwich Rolls
Learning about sub rolls, hoagie rolls, and other sandwich rolls can improve your cooking. The world of sandwiches offers many choices to suit different tastes.
Understanding the differences between sub and hoagie rolls
Sub rolls and hoagie rolls are unique. Sub rolls are long and sturdy, great for many fillings. Hoagie rolls, found in places like Philadelphia, are softer and made with Italian bread. They’re often served cold with Italian meats and cheeses.
Why sub-rolls are ideal for hearty fillings
Sub-rolls are perfect for filling sandwiches with meatballs, pulled pork, or chicken Parmesan. Their strong shape keeps the filling in place. This makes for a more enjoyable meal. Hoagie rolls, while tasty, might not hold up as well with heavy fillings.

| Feature | Sub Rolls | Hoagie Rolls |
|---|---|---|
| Typical Length | At least 6 inches | At least 6 inches |
| Texture | Sturdier | Softer |
| Common Fillings | Meatballs, pulled pork | Italian meats and cheeses |
| Serving Temperature | Cold or toasted | Typically cold |
Storing and Freezing Your Homemade Sub-Rolls
Proper care for your homemade sub-rolls keeps them fresh and tasty. You can enjoy their texture for a long time with the right storage and freezing methods. Knowing how to store and freeze your rolls is key to keeping them at their best.
Best practices for keeping your rolls fresh
There are a few ways to store sub rolls. You can put them in a zip-lock bag or wrap them tightly in plastic wrap. This keeps them fresh for up to seven days. Make sure the seal is tight to prevent moisture loss and keep the texture right.
If you want to keep them longer, freezing is a good option. Wrap the rolls in freezer-safe wrap to avoid freezer burn and keep their great taste.
How to freeze and reheat sub rolls effectively
Freezing sub rolls needs careful attention. It’s best to freeze them within 24 hours of baking. Keep the freezer at 0°F to prevent ice crystals and maintain quality. You can freeze them for up to two weeks, but for the best taste, aim for three weeks.
To thaw, let them sit at room temperature for four to five hours in a temperature of 65°F to 70°F. For the best result, reheat them in an oven at 350°F for a few minutes. This method brings back their original texture, making them great for fillings or sandwiches.
| Storage Method | Duration | Reheating Technique |
|---|---|---|
| Room Temperature (zip-lock bag) | Up to 1 week | None needed |
| Freezing (well-wrapped) | Up to 3 weeks | Thaw at room temperature, then reheat in oven |
Conclusion
Homemade sub rolls are a perfect mix of taste, texture, and personal touch. They are a hit with sandwich lovers. By spending 10 hours, you can become a pro at baking. Your hard work will make everyone love the fresh bread.
Using top-notch ingredients like bread flour and fine sea salt is key. A strong starter adds depth of flavor. The careful mixing and proofing make the rolls both tasty and fun to make. Baking brings joy and pride in making these tasty sub rolls.
Now you’re ready to start baking. Whether it’s for a party or just for yourself, making your own bread is rewarding. So, get your ingredients ready, set aside some time, and enjoy making your next batch of homemade sub rolls!
FAQ
What are homemade sub rolls?
Homemade sub rolls are fresh, soft rolls made with bread flour, yeast, and sea salt. They’re perfect for holding different sandwich fillings.
How do I store homemade sub rolls for freshness?
Store your sub rolls in a zip-lock bag or plastic wrap. For longer storage, freeze them in a well-wrapped package. Thaw and reheat for the best taste.
Can I customize my sub rolls with different toppings?
Yes! You can add toppings like sesame seeds, poppy seeds, or seasoning blends. This makes your rolls more flavorful and attractive.
What is the difference between sub rolls and hoagie rolls?
Sub rolls are longer and better for heavy fillings. Hoagie rolls are shorter and great for lighter sandwiches. Both are excellent for different types of sandwiches.
What are some common mistakes to avoid when making sub rolls?
Don’t over-knead the dough to avoid dense rolls. Also, watch the proofing time to keep the texture right. Baking at the correct temperature is key for a great crust.
Why is bread flour preferred for baking sub rolls?
Bread flour has more gluten, making the rolls chewier and fluffier. It’s the best choice for a perfect sub roll texture.
How can I achieve a perfect crust on my sub rolls?
Bake the rolls at the right temperature for a golden-brown crust. Check if they sound hollow when tapped to see if they’re done.
Is it possible to make gluten-free sub rolls?
Yes, you can make gluten-free sub rolls using gluten-free flour blends. Just remember to follow gluten-free baking tips for the best results.
Have you tried our recipe yet?
There are no reviews yet. Be the first one to write one.
